Company Overview
SDLT spare patrs BRANDS including: XCMG,LIUGONG,SDLG,LONKING ,SEM,XGMA,CHENGGONG/CG ,SHANTUI,FOTON LOVOL ,DOOSAN,YUTONG,ENSIGN,WEIMENG,SHANMON,YINENG,AOLITE,LUGONG,LAIGONG,MINGYU,MYZG,SHANYU,LUYU,DEGONG etc.
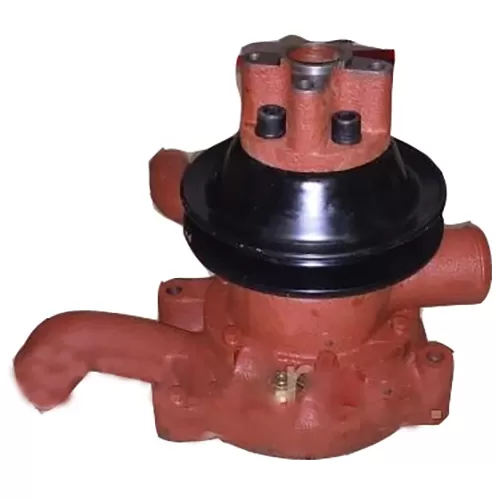
Spare parts of each system including:Diesel engine system(Weichai,Shangchai CAT diesel,Xichai,DEUTZ,dachai,yunnei,xichai,chaochai,weifang huafeng,yuchai.),
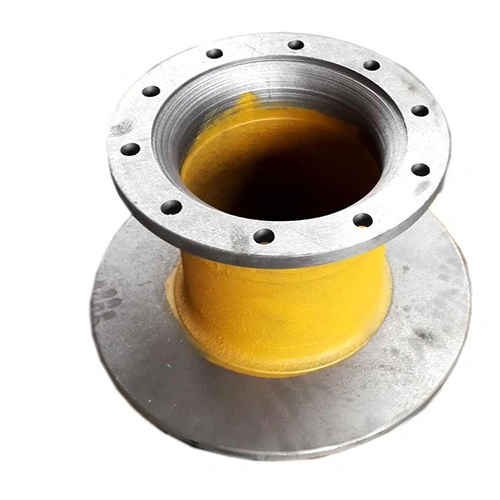
torque converter system,transmissoin system(Liuzhou ZF,dana,hangzhou advance,shantui,jingyi,beilian,jinlite,kinglite),transmission control system,
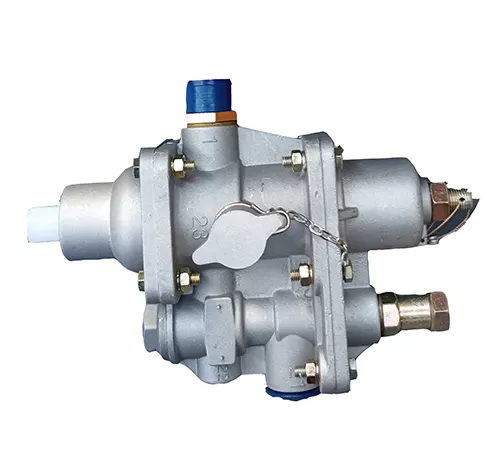
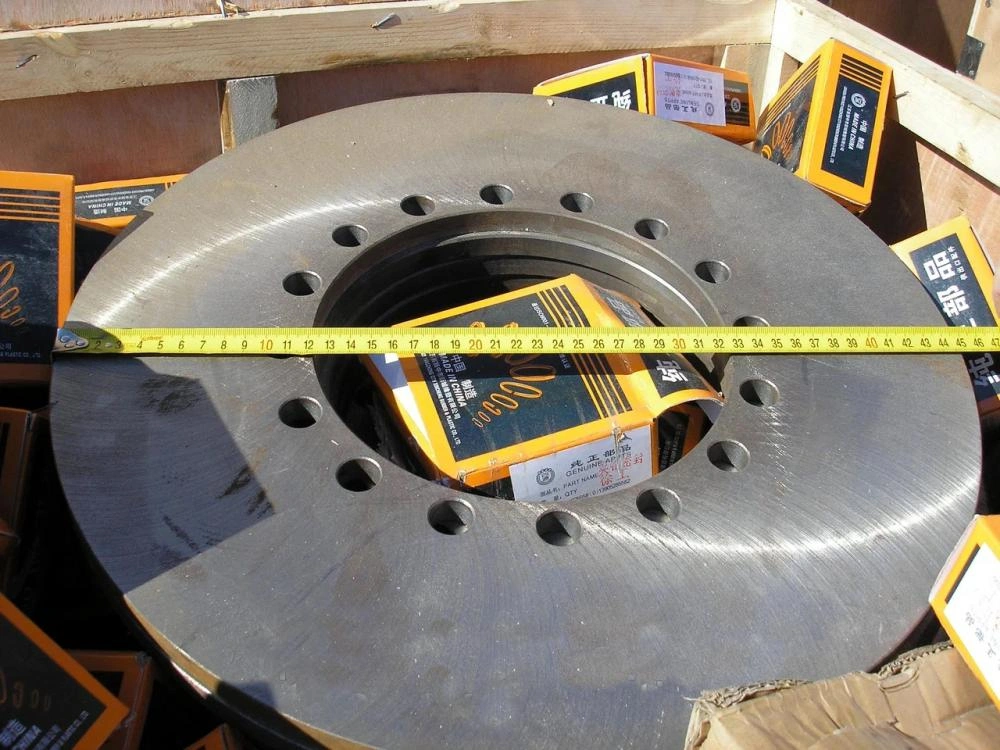
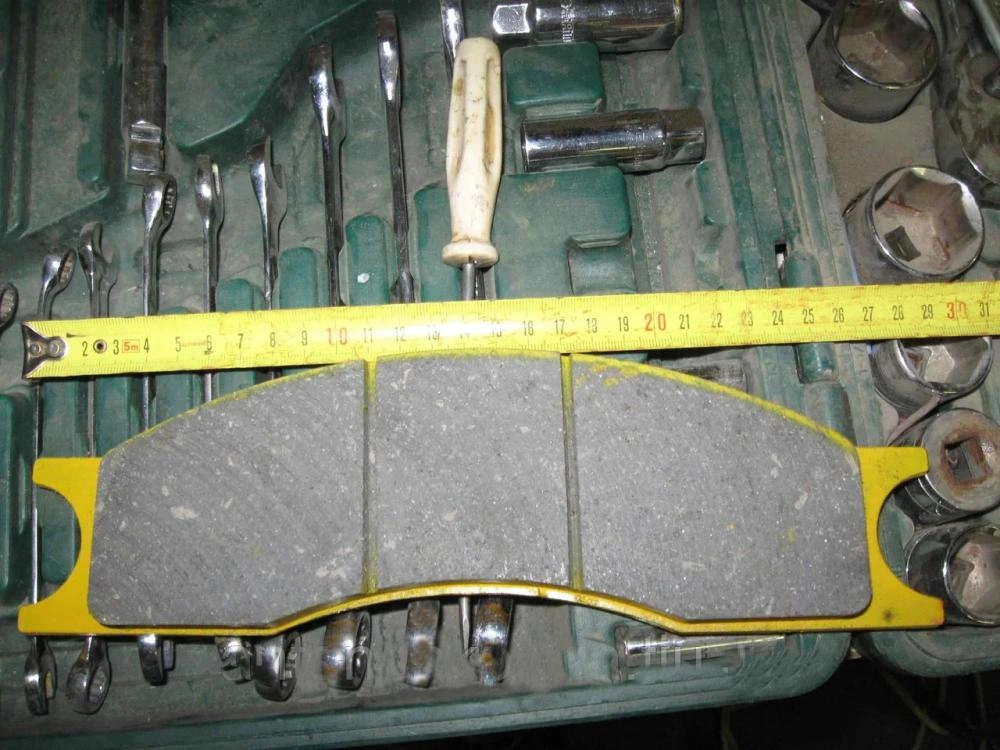
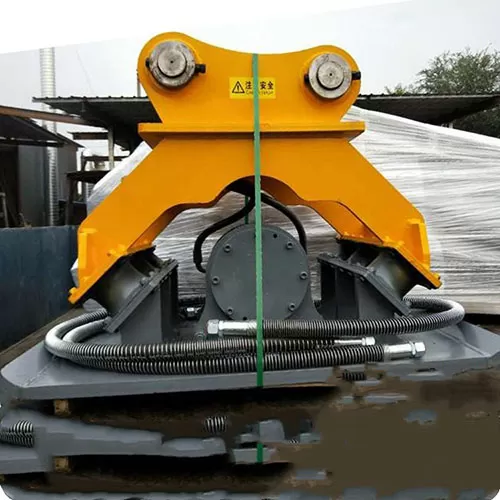
axle system,implement hydraulic system,steering system,foot and hand brake system,front frame,tank,cab group,cover system,air conditioner system,electric system , etc. Wheel Loader Multi-function Auxiliaries :Wood grabber, pipe grabber, cotton grabber, grass grabber, sweeper, marble fork, snow shovel, snow thrower, ditch opener, etc.